
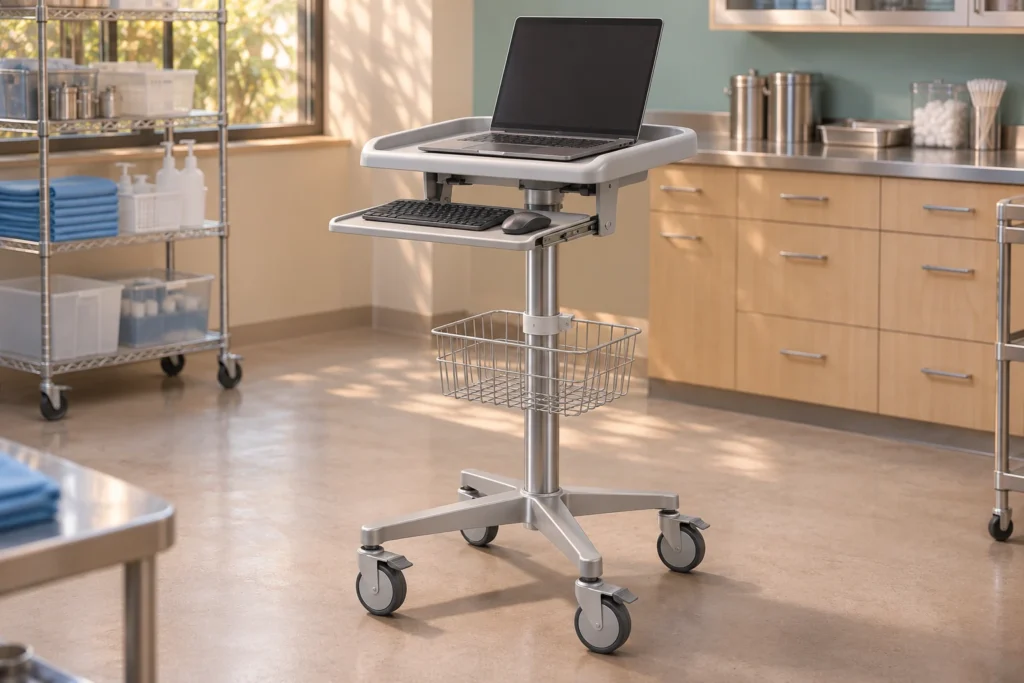
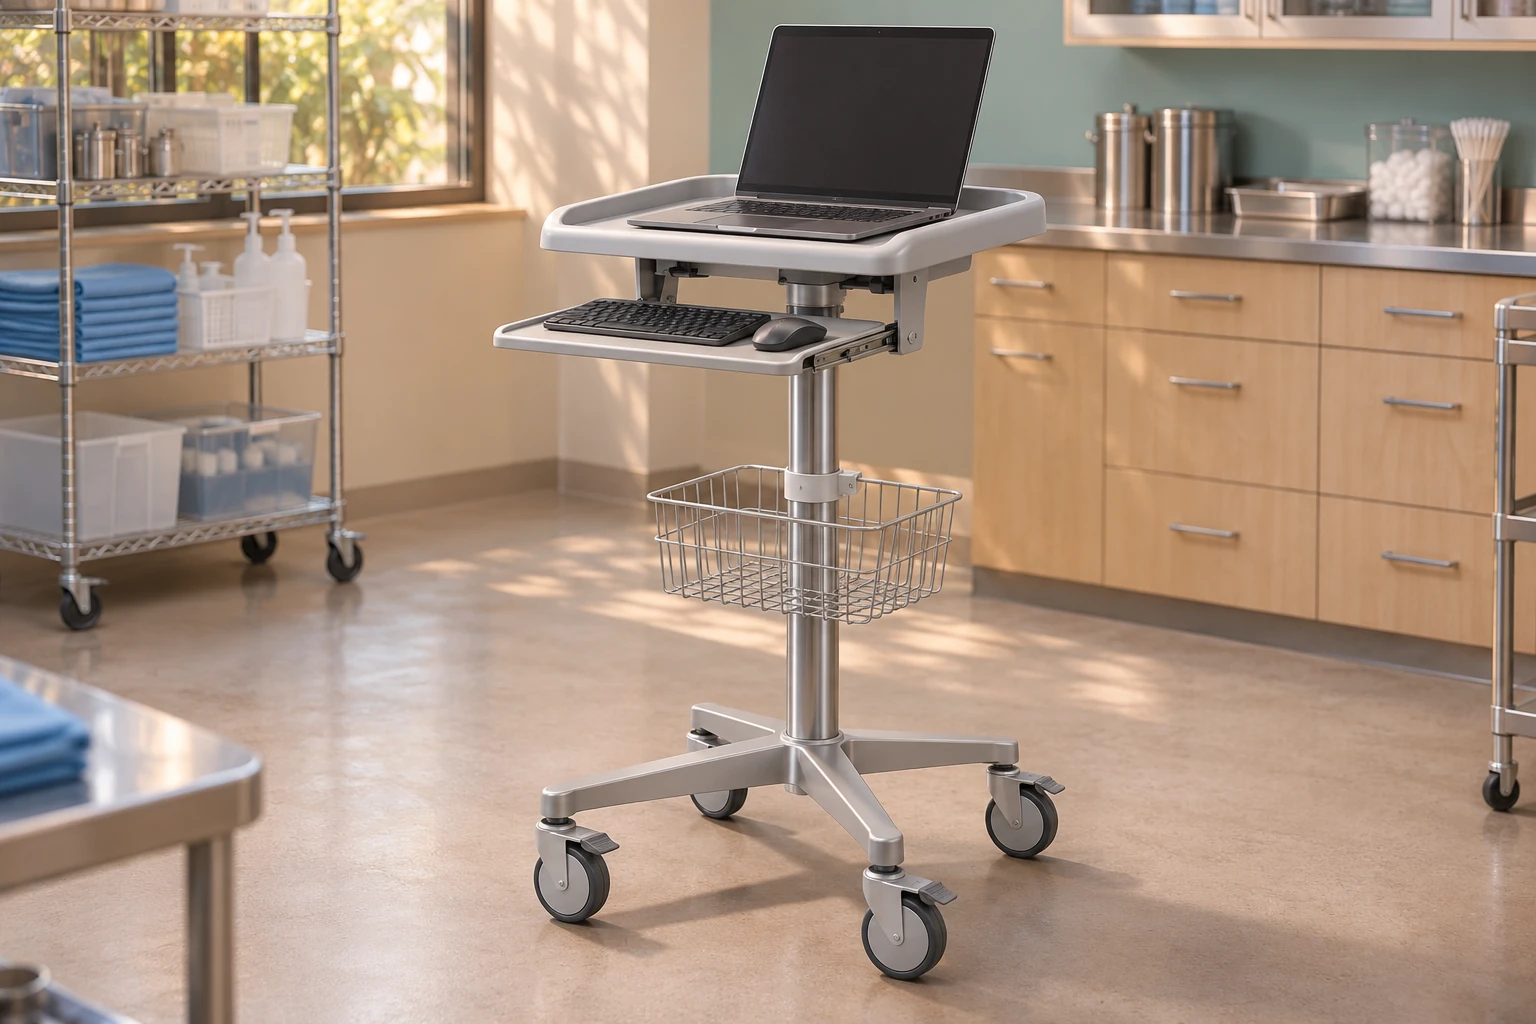
A medical laptop cart fits a computer only when the complete working configuration fits—not merely the closed laptop footprint. Buyers should review the open screen, connected plugs, worktop edges, external keyboard and the transition back to a transport configuration. Send CRF the actual laptop model and a configuration sketch before requesting a cart quotation. A screen diagonal alone cannot establish compatibility.
This guide focuses on the laptop’s working envelope. It does not establish an ergonomic working height, device retention performance or compatibility with any particular computer.
Why a closed-laptop measurement is incomplete
A closed computer can appear to fit comfortably between worktop edges while its lid, hinge or connected power plug conflicts with the cart during use. The screen may extend beyond the rear edge when opened. A side connector can need more room than the laptop chassis. A front lip may interfere with palm access or a release button.
Treat the laptop as a changing envelope rather than one rectangle. Record the closed condition, intended open condition and cable-connected condition separately. Use the manufacturer’s dimensional information where available, then verify the actual sample with the accessories intended for the order. Do not translate the advertised screen size into chassis dimensions.
Include the actual case and accessories
A protective shell, security attachment or docking adapter can alter the envelope. State which accessories remain attached during operation and which are removed for storage. If multiple laptop models are planned, list each one; the largest closed footprint is not necessarily the most difficult connector or hinge arrangement.
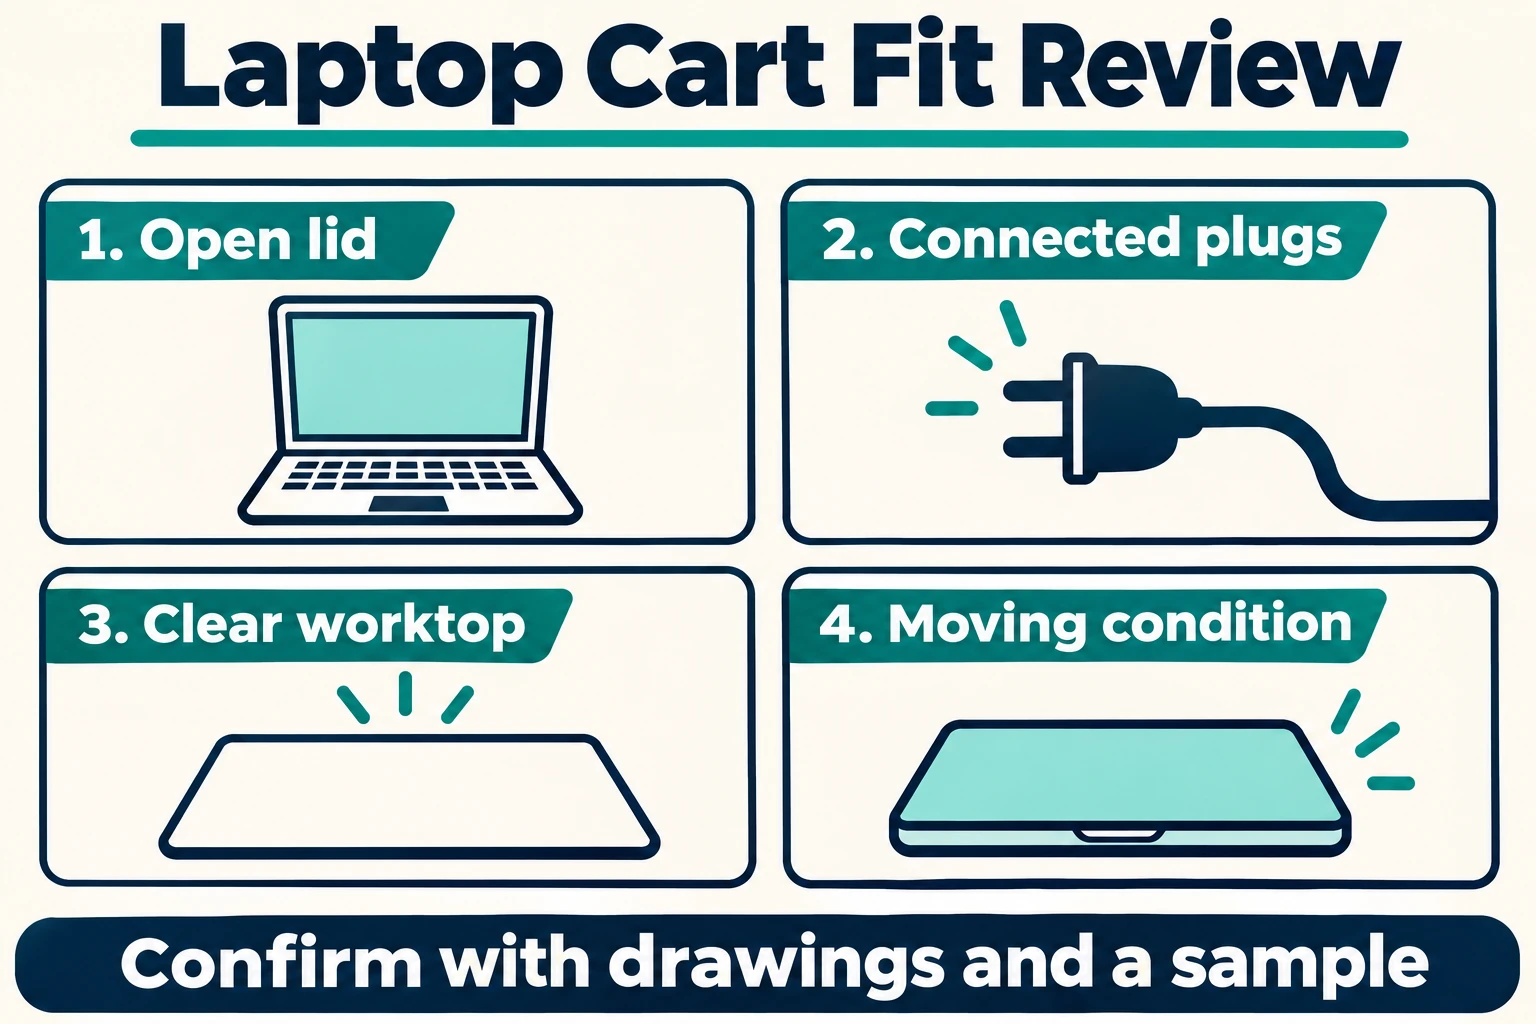
A focused fit-review sequence
1. Identify the usable worktop boundary
Ask for a drawing of the usable surface inside any raised rim, handle or retention component. Outer worktop width and depth do not establish clear placement area. Mark where the laptop feet sit and whether a rim contacts the chassis. Avoid treating a concept image as a dimensioned drawing.
2. Check the open-lid envelope
Supply side and rear views showing the intended screen position. Review the hinge sweep and the screen’s relationship to the rear worktop edge, upright and other accessories. If users need different viewing positions, define the range to review rather than assuming one fully open photograph covers every working position.
3. Attach the plugs used in practice
Fit the intended power connector, network adapter or other required peripheral. Check whether the plug body or cable presses against a rim and whether a cable can be disconnected without lifting the laptop into an awkward position. Confirm cable handling with the device documentation. This is a physical access review, not electrical approval.
4. Review keyboard and pointer placement
Decide whether users type directly on the laptop or use separate input devices. An external keyboard tray does not automatically make the laptop’s own keyboard accessible. Check both the extended and stowed positions when the selected configuration includes a separate tray. For tray-specific questions, use the medical cart keyboard tray fit guide.
5. Define the condition for moving the cart
Agree whether the laptop is closed, removed or retained in another defined condition before moving the cart. Document loose accessories and plugs. A stationary sample showing an open laptop does not prove that this is an approved transport condition. Retention and stability require their own configuration-specific review.
Apply the checklist to a real CRF configuration
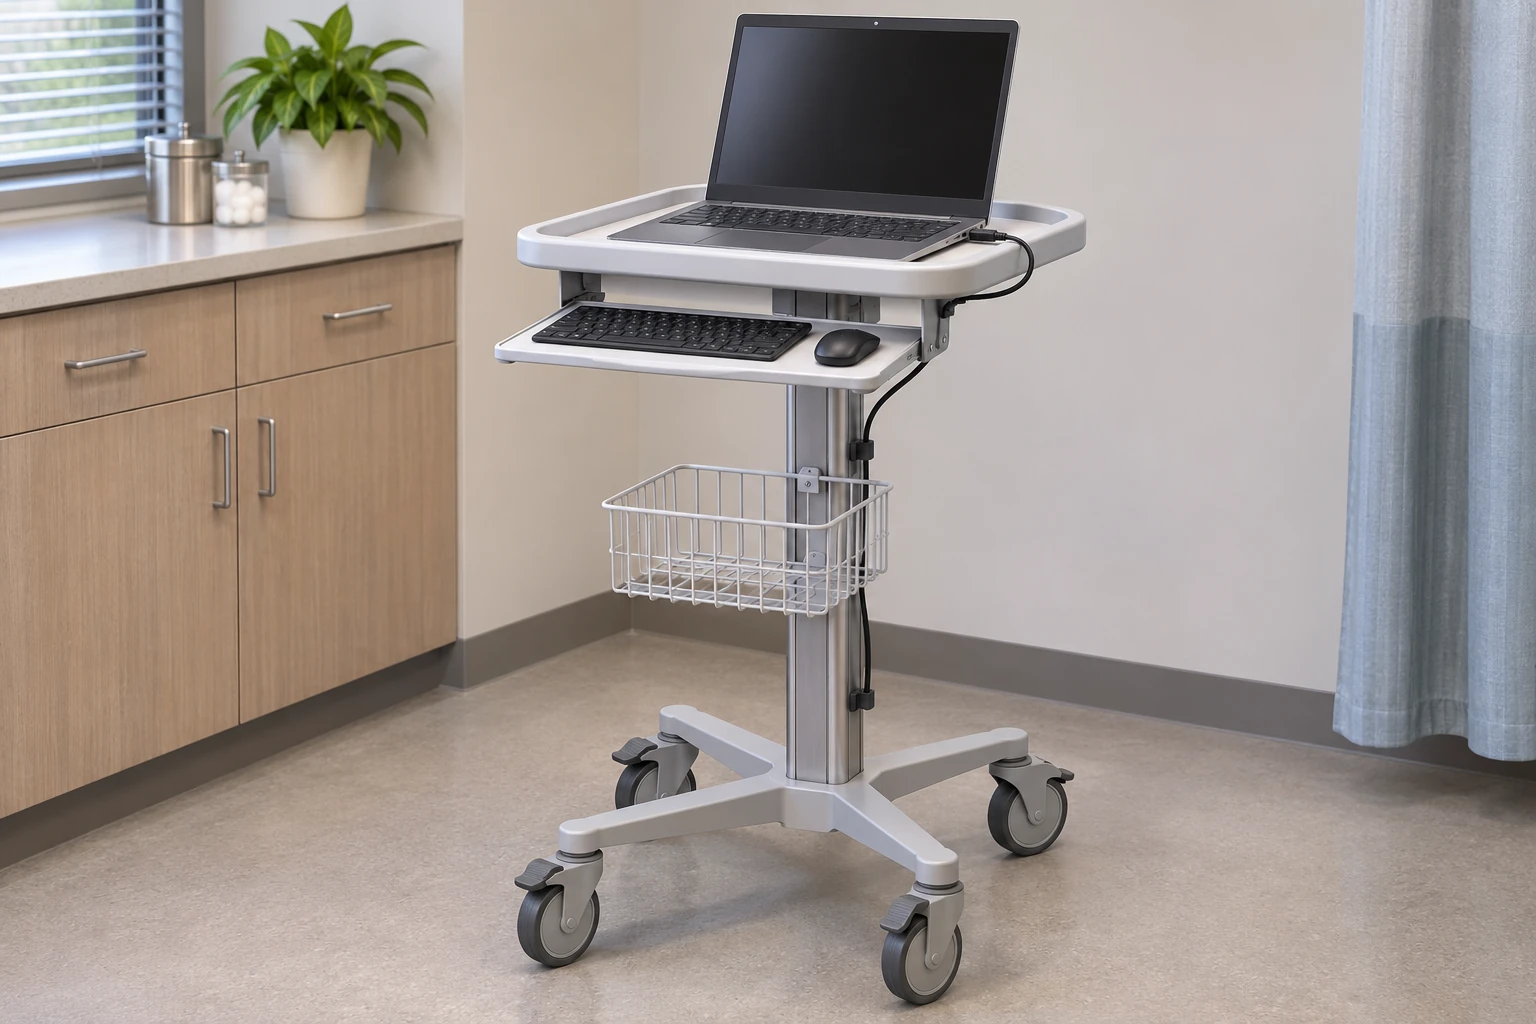
The CRF laptop cart with keyboard tray, wire basket and open lower shelf lists a rimmed worktop with front handle, a separate keyboard tray with side extension, a rectangular upright, a wire basket and an open lower equipment shelf. Its product description identifies a four-arm caster base. The lower shelf is not an enclosed cabinet or drawer.
Those listed features identify questions to ask; they do not prove that your laptop fits. Request the final drawing for the selected configuration and confirm which accessories are included. The product page identifies its shown imagery as AI reference-guided visualization, not documentary photography or engineering evidence. Use sample measurements and drawings—not the illustration—to close the compatibility decision.
If the project is still choosing between a laptop cart and a separate-monitor configuration, start with the laptop cart versus monitor workstation comparison. This article addresses the next step: the laptop’s specific physical envelope.
What to include in a comparable RFQ
Provide the laptop manufacturer and exact model, chassis drawing or measurements, intended open-screen position, protective case, connector locations, plug types and photographs of the actual accessory setup. State whether input is through the laptop keyboard or external devices. Include the preferred stationary and transport conditions.
Ask CRF to mark the proposed laptop position on the worktop drawing and identify unresolved clearances. Separate confirmed items from assumptions. Request a sample review if access or hinge movement cannot be established from drawings. Record the approved device revision and accessory list so a later substitution does not silently invalidate the decision.
FAQ
Is screen size enough to select a laptop cart?
No. Screen size does not specify chassis width, depth, hinge movement, feet placement or connected-plug clearance. Use the actual device information.
Does a keyboard tray confirm that every laptop will fit?
No. The tray is a separate interface. Review the laptop on the worktop and the external input devices on the tray independently, then check their interaction.
Can a generated scene prove compatibility?
No. A concept scene explains the review context but cannot establish dimensions, secure retention, stability or supplied accessories.
Should a laptop remain open while the cart moves?
Do not assume so. The supplier and buyer must define an appropriate movement condition for the actual equipment and configuration. This article does not approve transport with an open laptop.
Request a configuration review
Send CRF your laptop model and fit-review requirements for a B2B configuration review and quotation. Include quantity and destination alongside the device and accessory information. Final dimensions, materials, included components and commercial terms must be confirmed in the quotation.